Section 3 of 9
Van Shell
Windows
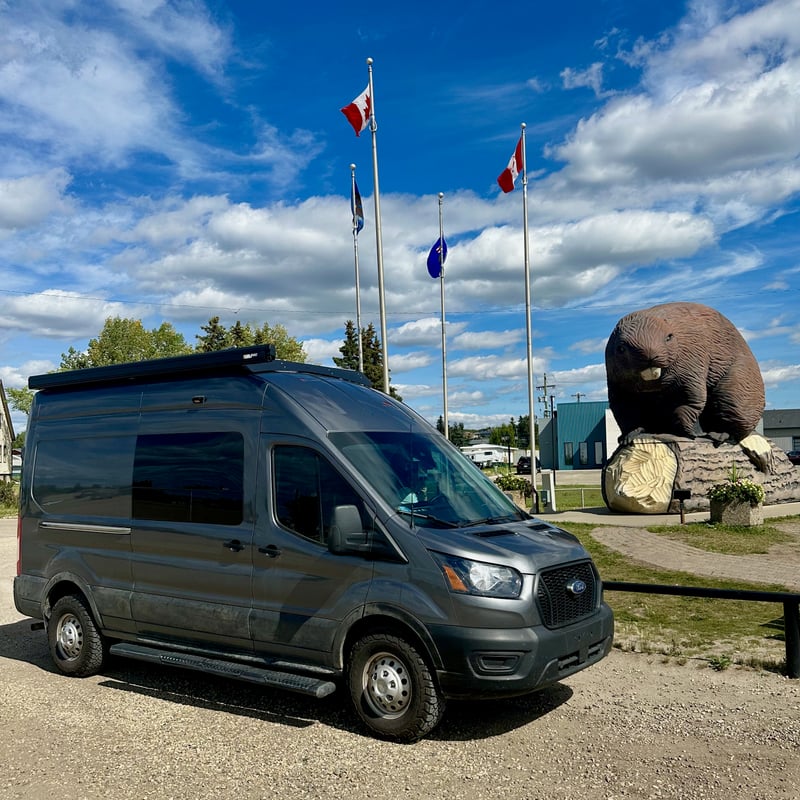
We knew early on that we wanted big windows. Some Transits can be optioned with a large fixed window in the sliding door from the factory — if that’s what you want, get it from the factory. It reduces leak potential and is almost certainly cleaner than cutting into a finished van later.
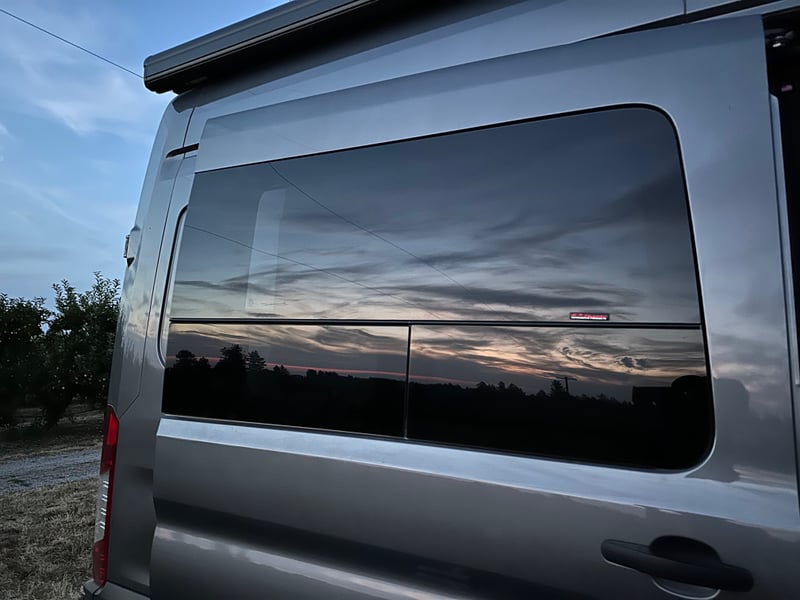
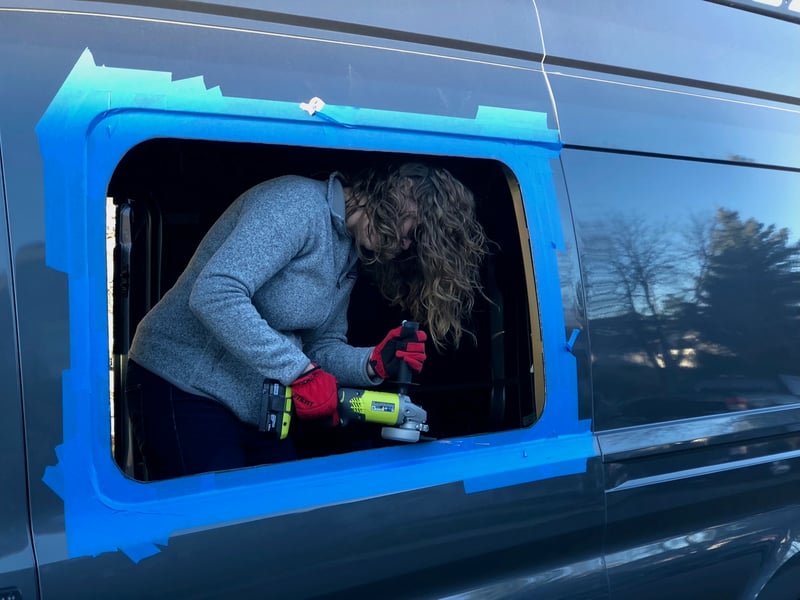
Since ours was already in the Ford build queue when we acquired it, we couldn’t change the spec. We went aftermarket: CR Laurence windows, installed on both the driver side (behind the galley) and in the sliding door. They look remarkably OEM — clean lines, proper glass, nothing that screams “aftermarket conversion.” We love the look. Given what they cost, the fit and finish could be a bit better, but the end result is excellent.
Each window has a small tip-up vent at the bottom with built-in bug screens — you can crack them for ventilation even in light rain, which covers a lot of Pacific Northwest scenarios where you’d otherwise be sealed up and condensing.
The driver-side window sits behind the galley; the sliding door window gets the full benefit of having a low bench seat in front of it rather than a tall kitchen cabinet — you can actually see out of it, which sounds obvious but matters a lot when you’re sitting inside.
Glass is a crappy insulator. Single-pane windows — including the CR Laurence glass — are a meaningful heat penalty compared to the insulated walls around them. Dual-pane acrylic windows (like Broad Arrow) perform significantly better thermally, but they don’t look OEM. We went OEM-look and accepted the heat trade.
We skipped all windows in the bed area — no rear door glass, nothing behind the sliding door — partly for warmth, partly because we’d heard many people with rear-door glass just leave the shades permanently down anyway. We still think that was right, but we’d probably add a couple of small sliding windows back there for airflow and visibility. And for van 2 we might reconsider the big OEM-look windows entirely and go with proper dual-pane acrylic — the thermal performance difference is real, and most good quality windows have built in bug screens and blackout shades.
Fan
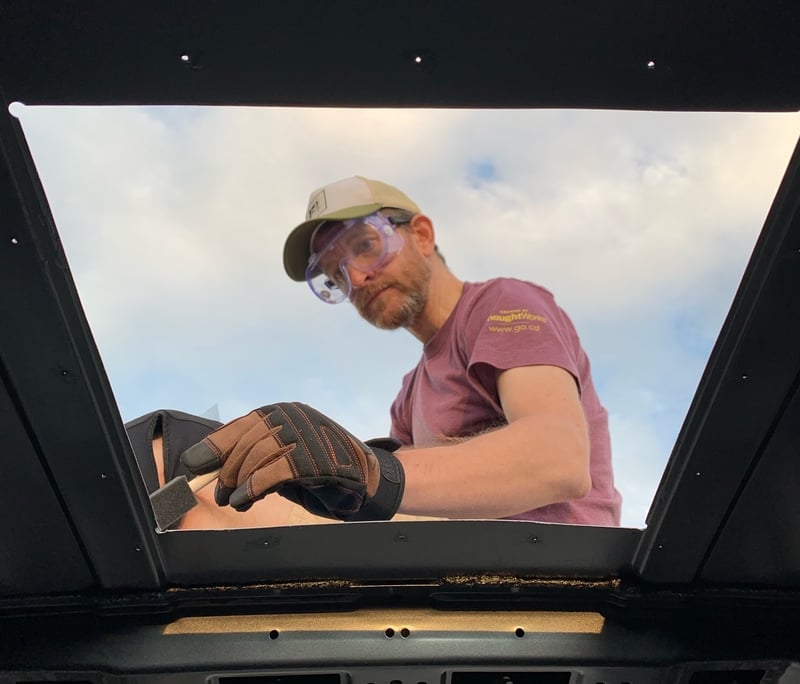
One Maxxfan, positioned in the roof above the kitchen which is the logical spot for pulling cooking smells and moisture out. DIYvan makes an install adapter for the Transit that makes the job cleaner.
The fan install is the moment the build gets real. Cutting a hole in the roof of a van you just paid a significant amount of money for is genuinely nerve-wracking. But once it’s done it’s done, and somehow everything after feels easier. Plus, I now have awesome pictures of Taylor angle-grinding the window holes, sparks flying. Epic.
Deadening
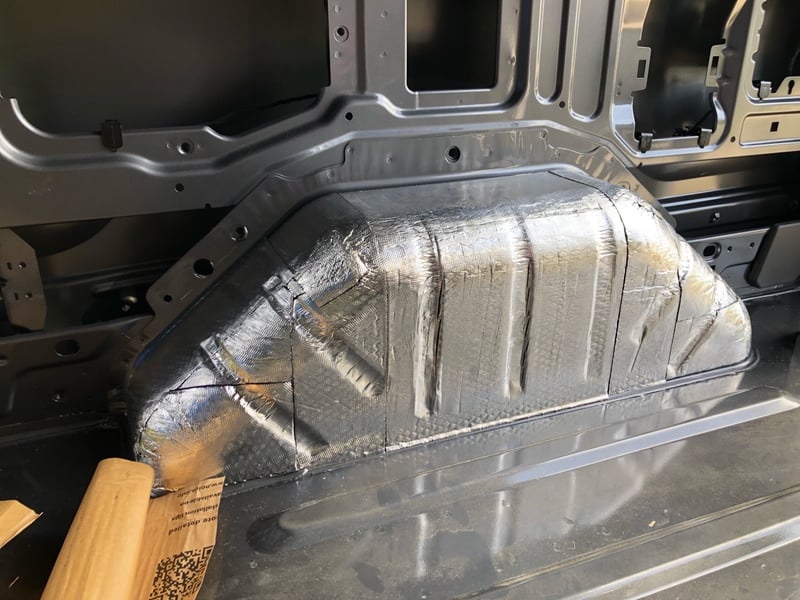
Before any insulation went in, we covered a lot of the bare metal with Killmat — a butyl rubber sound deadener that sticks to the shell and damps the drumming you’d otherwise hear from road noise, rain, and engine vibration. Wheel wells, floor pans, door skins, and the larger flat panels on the walls all got coverage.
You don’t need 100% coverage to get most of the benefit — somewhere around 25–50% of a panel’s surface area is the diminishing-returns point. We focused on the panels that resonated the most and didn’t stress about perfect coverage everywhere. The difference in road noise is noticeable. It’s one of those steps that seems tedious while you’re doing it but you’d notice immediately if you skipped it.
Insulation
We used Thinsulate throughout the walls and ceiling. You’ll have heard of Thinsulate from winter clothing, but it was actually designed as an accoustic treatment. It insulates well and is hyrdophobic and light weight and works nicely in the curved sections of a van interior.
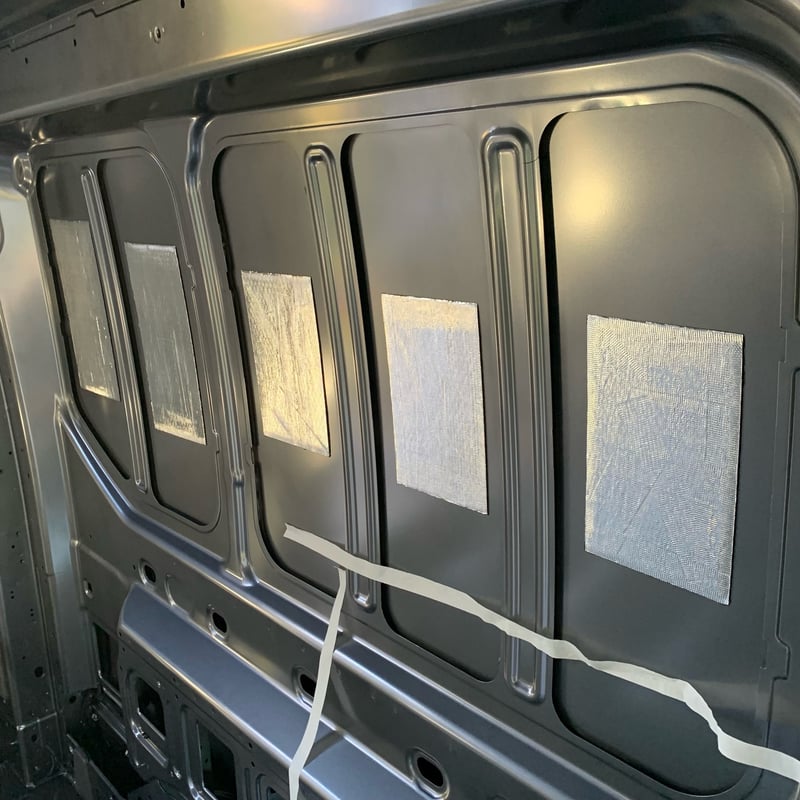
Behind every cabinet and wall panel, we also used low-e foam: a thin foam with a metallic layer on each side (not Reflectix, which is the bubble wrap stuff — low-e is denser and more effective). This creates a thermal break. The bare metal of the van shell conducts heat and cold aggressively, and without something interrupting that path, your insulation is fighting a losing battle at every contact point. FarOutRide covers this strategy well.
Insulation can be something of a religious topic for van builders. George at Humble Road Vans shaped our thinking here — his take is “let the van breathe,” and we agree. Some builders go heavy on vapour barriers, which sounds thorough but creates a different problem: if moisture gets in (and it will), you’ve trapped it. We’d rather the van manage moisture naturally than seal against it perfectly and fail.
FarOutRide’s insulation guide is the most thorough breakdown we’ve seen of the options, tradeoffs, and techniques — worth reading before you commit to anything.
Floor
The Transit has a ribbed metal floor, which needs to be dealt with before you can lay anything flat. Our approach, using a DIYvan closed-cell foam kit:
- Strips of closed-cell foam cut to fill the ribs
- A thin layer of Thinsulate over that
- A full layer of closed-cell foam
- Half-inch plywood on top, glued down
- A single continuous piece of wood-effect vinyl flooring over the plywood, also glued down
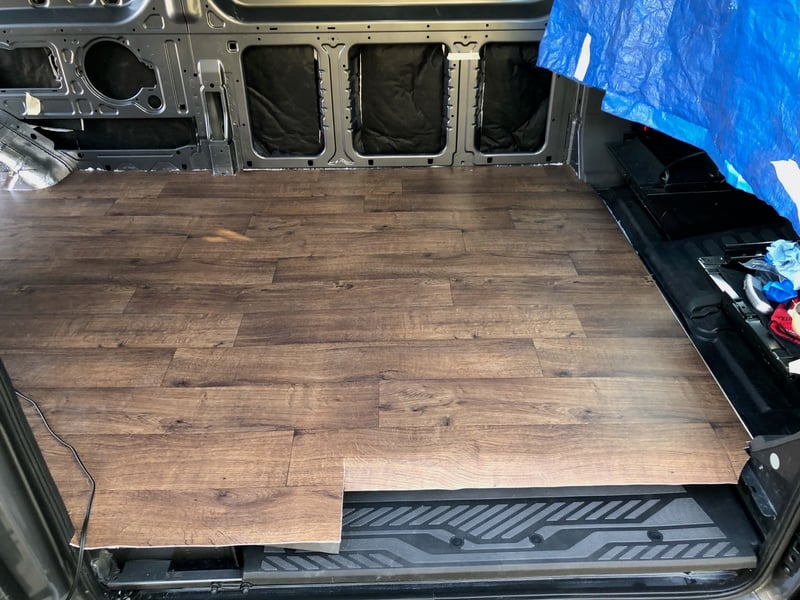
Everything was adhered in place. The vinyl runs wall to wall in one piece — no seams, so no places for water to work its way down. Waterproof by nature, and the wood effect looks surprisingly good. The floor ends up as two large plywood panels under the vinyl — heavy enough to stay put, simple enough to be a solid anchor for the furniture going in above it. DIYvan now sell a complete, machined floor with minicell insulation. More expensive than our approach but definitely worth thinking about — you get a perfect fit, drop-in floor system that is probably worth the money.